Required Setups
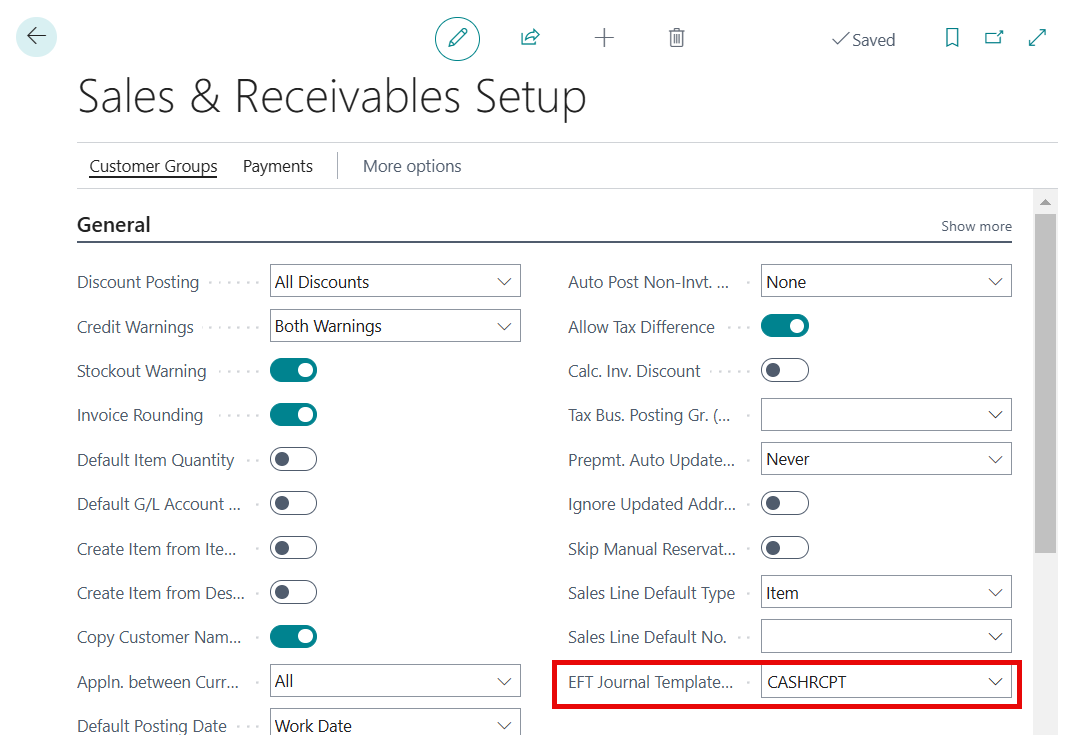
Sales & Receivables Setup
- On the General FastTab, select a template from the drop-down for the EFT Journal Template.
Define Banks
- Search for Bank Export/Import Setup and click to open the related link.
- Confirm that AR EFT DEFAULT is set up.

| Field Name | Description |
|---|---|
| Code |
Specifies a Code to identify the Bank Export/Import Setup. |
| Name | Specifies the name of the Bank Export/Import Setup. |
| Direction | Specifies if this setup will be used to import a bank file or to export a bank file. |
| Processing Codeunit ID | Specifies the codeunit that will import the bank statement data. |
| Processing XMLport ID | Specifies the XMLport through which the bank statement data is imported. |
Data Exchange Definitions
Use the Data Exchange Definitions page to define the EFT File Format for each Bank
Search for Data Exchange Definitions and click to open the page.
Verify that AR EFT DEFAULT record is available in Data Exchange Definitions.
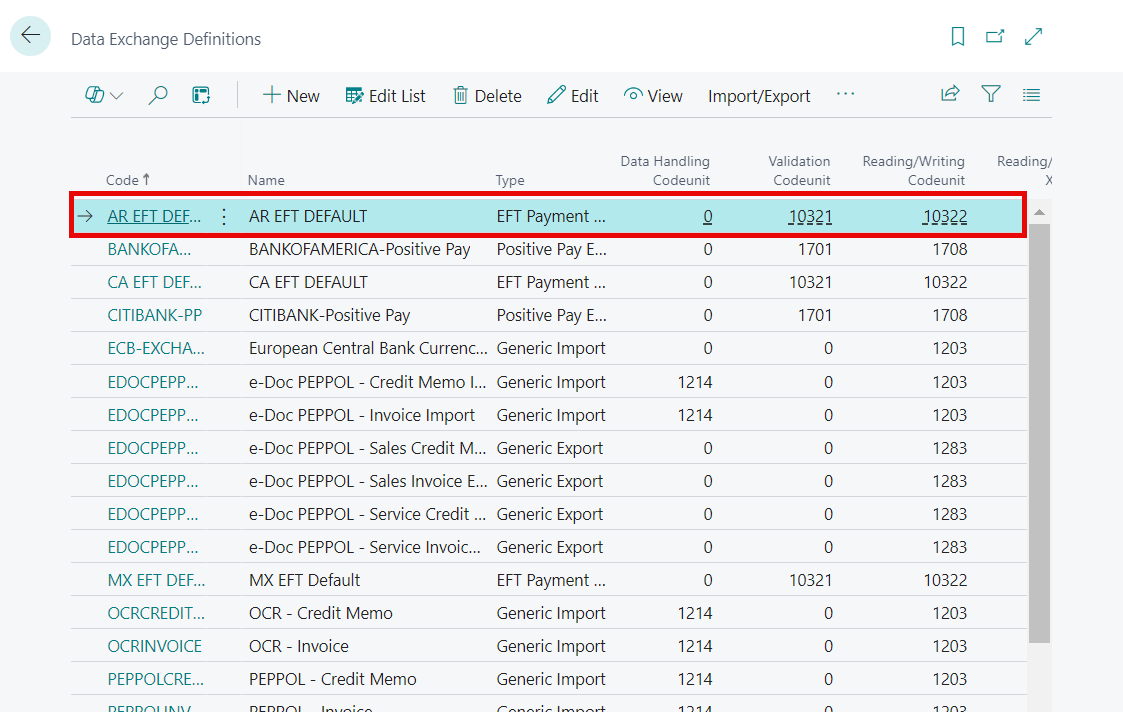
To review or make changes, click to open AR EFT DEFAULT and click the Edit icon, and make any necessary edits.
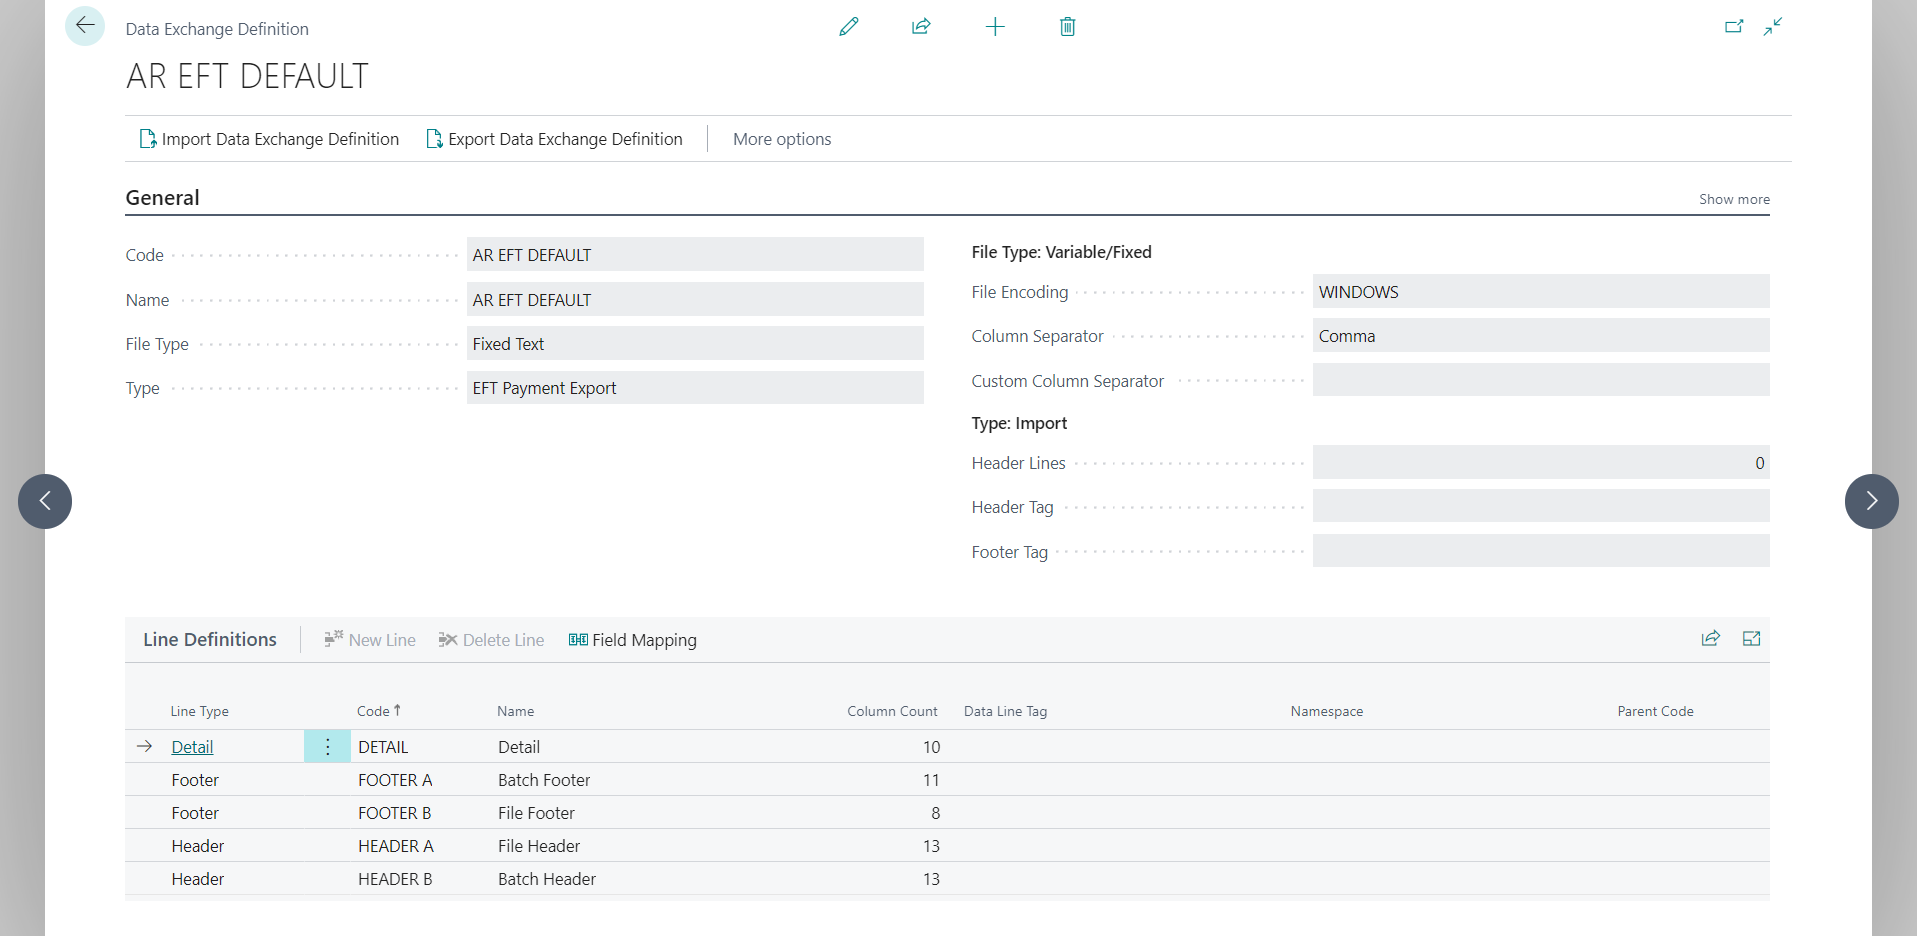
Import Data Exchange Definition
Import the data exchange definition to a file that is located on your computer or network. The file type must match the value of the File Type field.

Export Data Exchange Definition
Import a Data Exchange Definition from a bank file that is located on your computer or network. You can then upload the file to your electronic bank to process the related transfers.

General FastTab
| Field Name | Description |
|---|---|
| Code |
Specifies a Code that identifies the Data Exchange Definition setup. |
| Name | Specifies the name of the Data Exchange Definition. |
| File Type | Specifies the Type of File for which the Data Exchange Definition is used. You can select between three file types: XML, Variable Text or Fixed Text. |
| Type: | Specifies the Type of Exchange for which the Data Exchange Definition is used. |
| Data Handling Codeunit | Specifies the codeunit that transfers data in and out of tables in Microsoft Dynamics 365. |
| Validation Codeunit | Specifies the codeunit that is used to validate data against pre-defined business rules. |
| Reading/Writing Codeunit | Specifies the codeunit that processes imported data prior to mapping and exported data after mapping. |
| Reading/Writing Codeunit | Specifies the codeunit that processes imported data prior to mapping and exported data after mapping. |
| Ext. Data Handling Codeunit | Specifies the codeunit that transfers external data in and out of the Data Exchange Framework. |
File Type: Variable/Fixed
| Field Name | Description |
|---|---|
| File Encoding |
Specifies the encoding of the file to be imported. This field is only relevant for import. Options are: MS-DOS, UTF-8, UTF-16, or WINDOWS. |
| Column Separator | Specifies how columns in the file are separated if the file is of type Variable Text. Option: Comma |
| Custom Column Separator | Specifies how columns in the file are separated if the file is of a custom type. |
Type: Import
| Field Name | Description |
|---|---|
| Header Lines |
Specifies how many header lines exist in the file. This ensures that the header data is not imported. This field is only relevant for import. |
| Header Tag | Specifies the text of the first column on the header line. |
| Footer Tag | Specifies the text of the first column on the footer line. If a footer line exists in several places in the file, enter the text of the first column on the footer line to ensure that the footer data is not imported. This field is only relevant for import. |
Line Definitions
| Field Name | Description |
|---|---|
| Line Type |
Specifies the type of the line in the file. Options: Detail, Header, Footer |
| Column Count | Specifies the number of columns in the bank statement file line. |
| Data Line Tag | Specifies the position in the related XML schema of the element that represents the main entry of the data file. |
| Namespace | Specifies the namespace (uniform resource name (urn)) for a target document that is expected in the file for validation. You can leave the field blank if you do not want to enable namespace validation. |
| Parent Code | Specifies the parent of the child that is specified in the Code field in cases where the data exchange setup is for files with parent and children entries, such as a document header and lines. |
Delete Line
Click to delete the selected row.
Field Mapping
Field Mapping associates columns in the data file with fields in Dynamics 365.
Column Definitions
| Field Name | Description |
|---|---|
| Column No. | Specifies the number that reflects the column's position on the line in the file. |
| Name | Specifies the name of the column. |
| Data Type | Specifies if the data to be exchanged is of type Text, Date, or Decimal. |
| Data Format | Specifies the format of the data, if any. For example, MM-DD-YYYY if the data type is Date. |
| Data Formatting Culture | Specifies the culture of the data format, if any. For example, en-US if the data type is Decimal to ensure that comma is used as the .000 separator, according to the US format. This field is only relevant for import. |
| Length | Specifies the length of the fixed-width line that holds the column if the file is of type Fixed Text. |
| Description | Specifies a description of the column, for informational purposes. |
| Path | Specifies the position of the element in the related XML schema. |
| Negative-Sign Identifier | Specifies the value that is used in the data file to identify negative amounts, in data files that cannot contain negative signs. This identifier is then used to reverse the identified amounts to negative signs during import. |
| Constant | Specifies any data that you want to export in this column, such as extra information about the payment type. |
| Text Padding Required | Specifies that the data must include text padding. |
| Pad Character | Specifies what text padding character is used. |
| Justification | Specifies if the column justification is left or right. |
| Blank Zero | Specifies if the element is empty if equal to 0. |
| Export If Not Blank | Specifies if the value of this column must be exported only if it is not blank. |
Blocking Factor
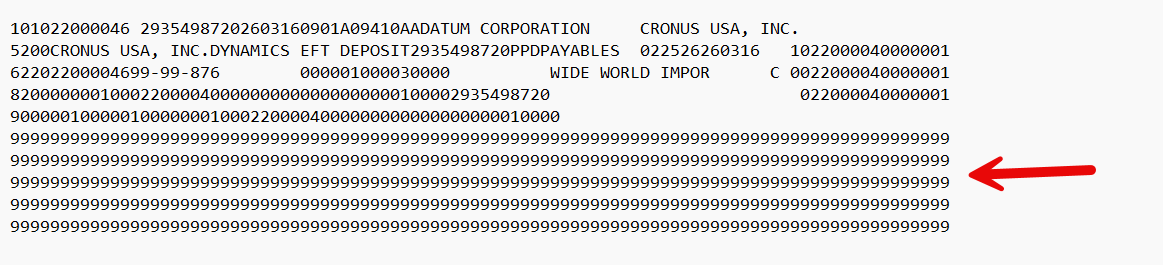
In Microsoft Dynamics 365 Business Central, the “Blocking Factor” you see in the Column Definitions for US EFT Default – Header A is directly tied to NACHA (ACH) file format requirements.
The Blocking Factor is a standard NACHA file‑level control value that specifies how many records make up one block in the ACH file.
or US ACH/NACHA files, the blocking factor is:
- 10 records per block
- Each record is 94 characters long
- Files must contain a whole number of blocks
- If the total record count is not a multiple of 10, filler records (Type 9 records filled with 9s) are added to complete the final block
This is a NACHA rule and not optional.
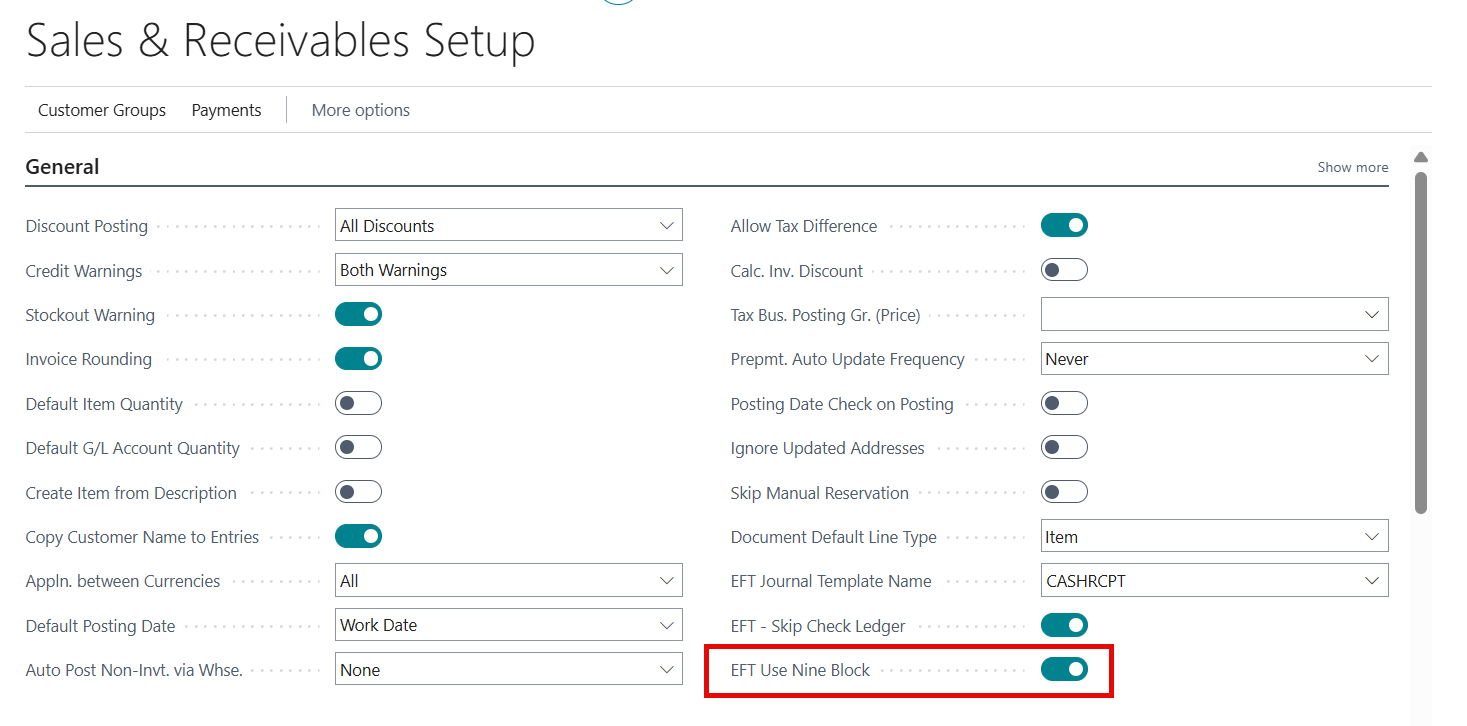
To enable the 9 block feature in AR EFT navigate to Sales & Receivables Setup > General FastTab > EFT Use nine Block. Set the Boolean to 'TRUE'.
 ()
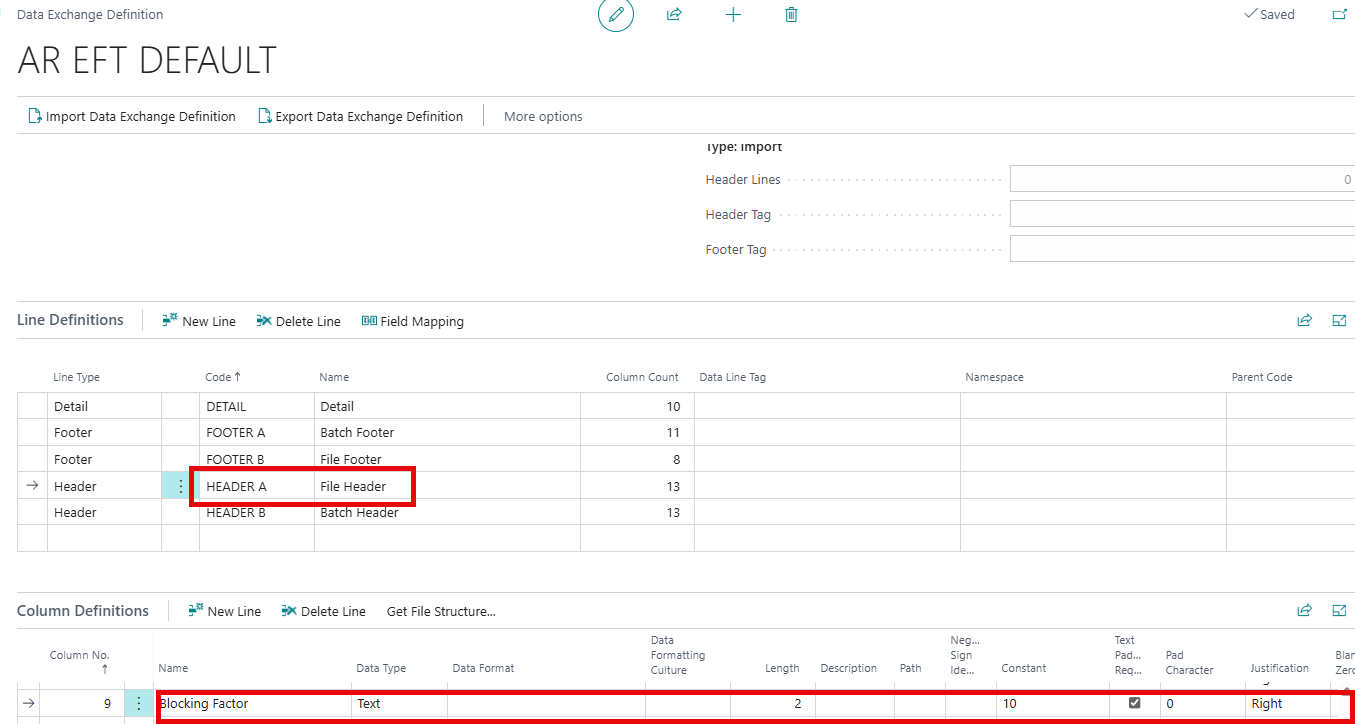
If the Blocking Factor is not configured )Header A, (File Header) > Column Definitions, Column 9 add the following for Blocking Factor:
()
If the Blocking Factor is not configured )Header A, (File Header) > Column Definitions, Column 9 add the following for Blocking Factor:
- Data Type: Text
- Length: 2
- Constant: 10
- Pad Character: 0
- Justification: Right
Sample output after Generate EFT File process is run with 9 block enabled:
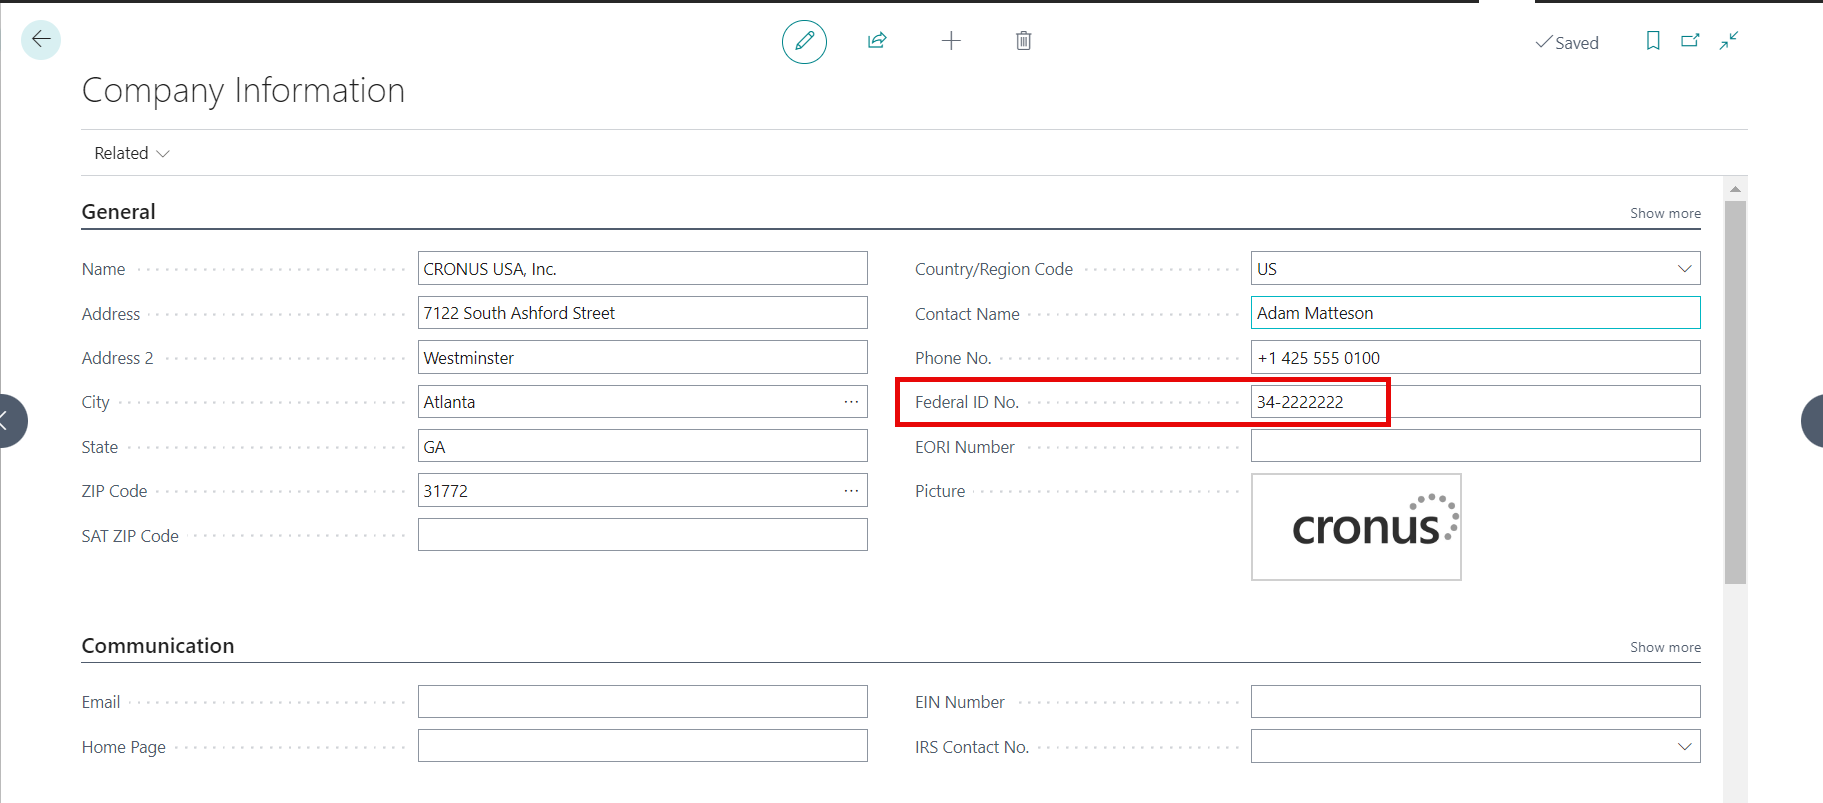
Company Information
Search for Company Information and select the related link to open page.
Add a Federal ID No. in the General FastTab if the field is not currently populated.
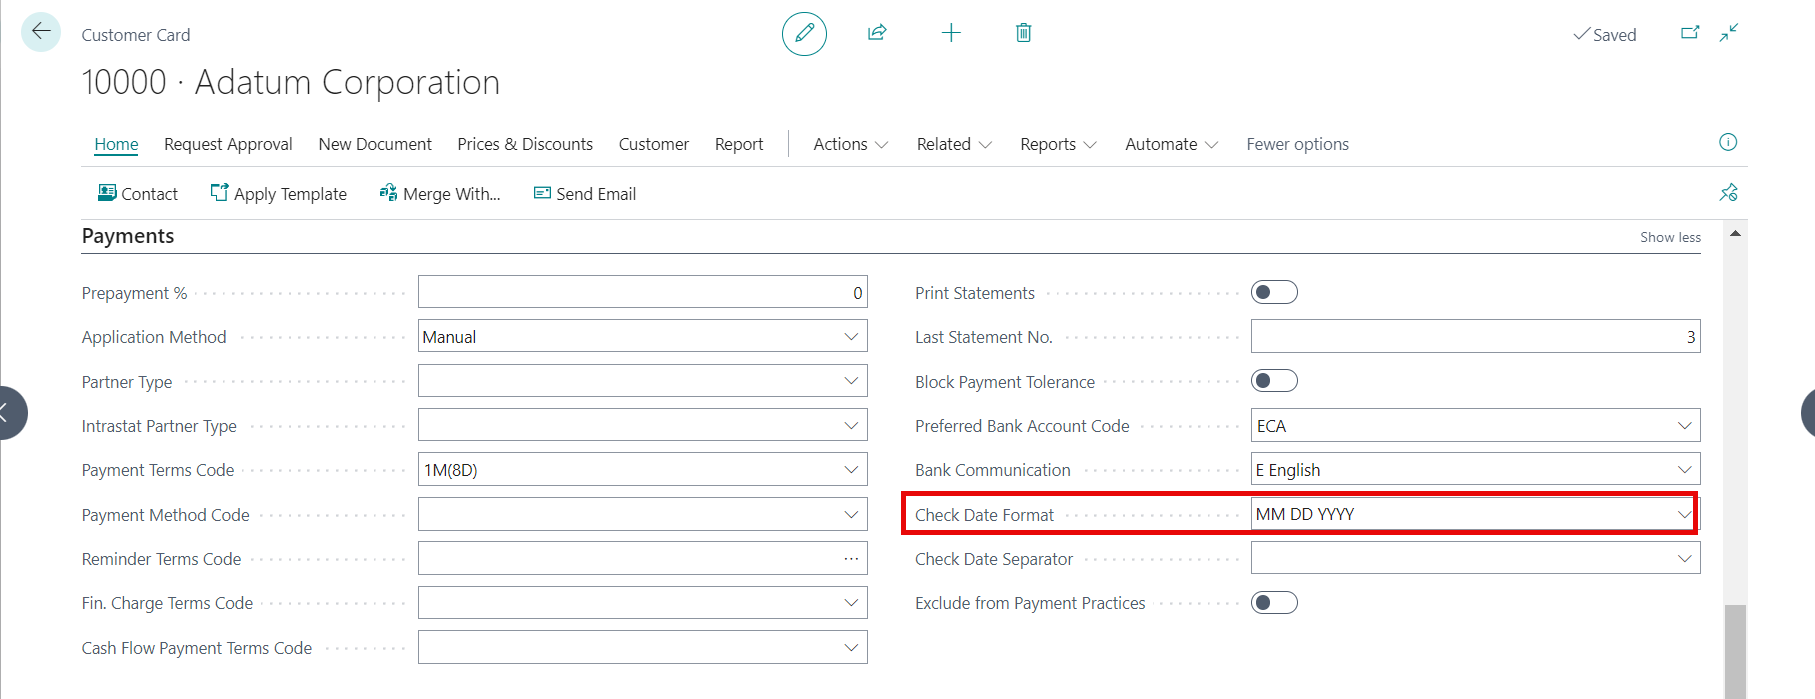
Customer Card
- Search for Customers and select the related link to open the Customers List.
- Select a customer from the list to open the Customer Card.
- Scroll to the Payments FastTab and select a format for Check Date Format. This field specifies how the date will appear on the printed check image for this bank account.
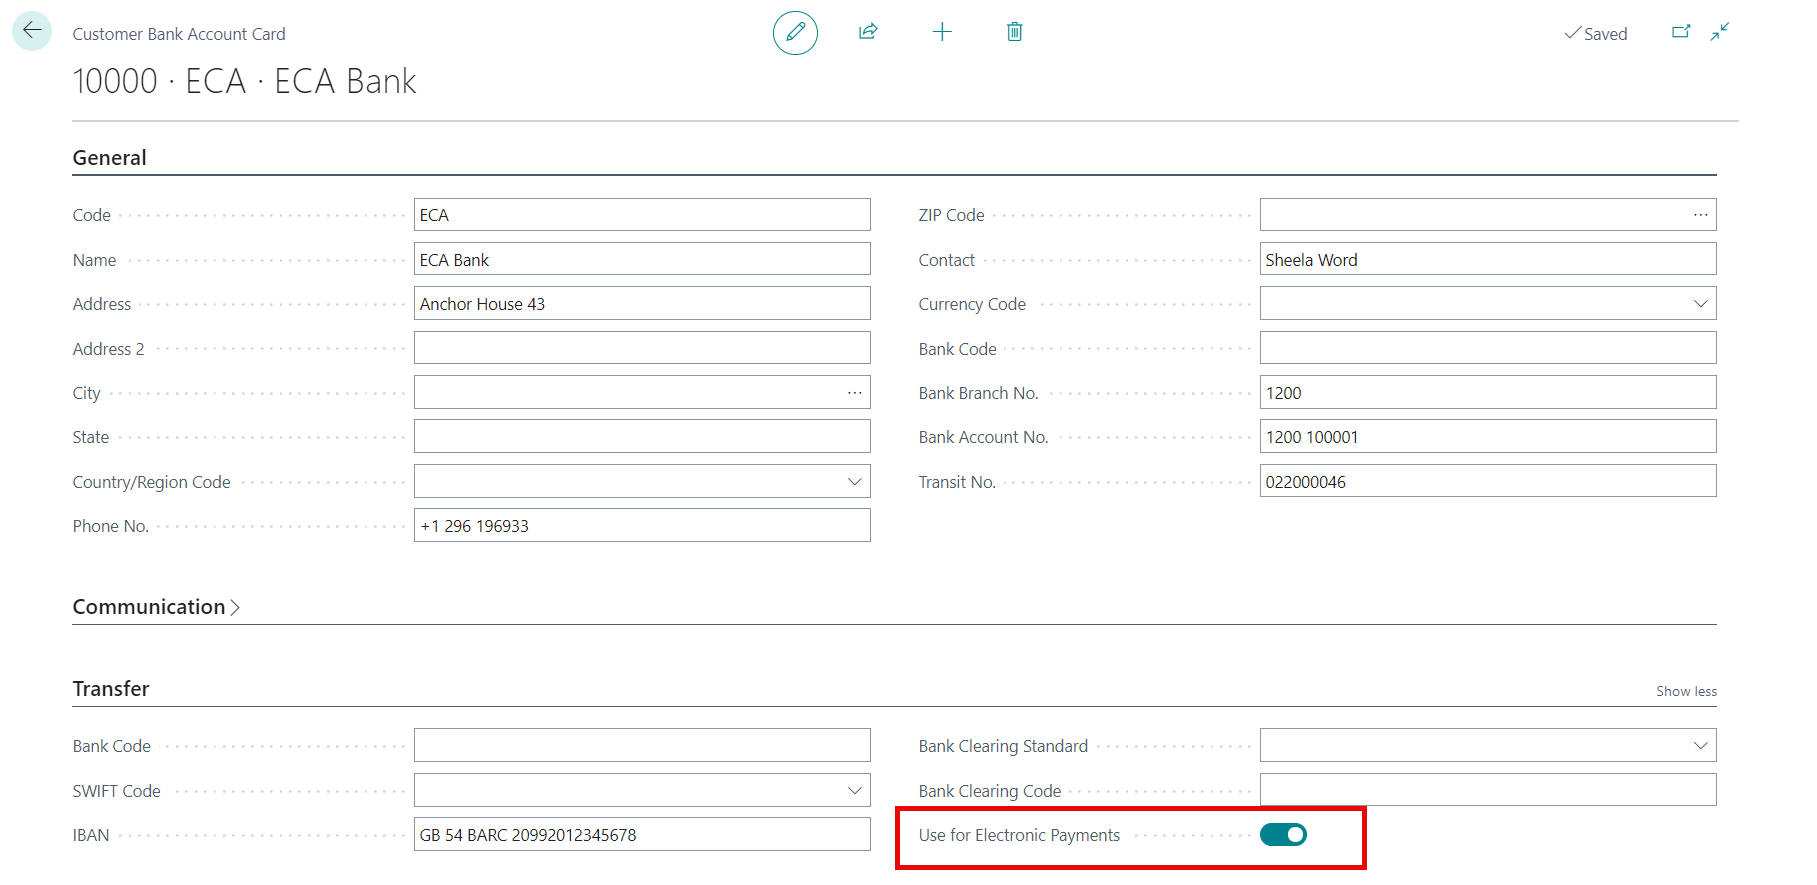
Customer Bank Account Card
From the ribbon in the Customer Card, select Customer > Bank Accounts.

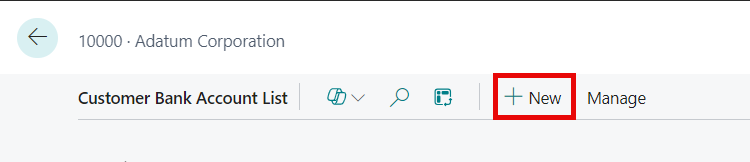
Click New to create a Customer Bank Account Card.
Complete Bank Account No. field and other required information, such as Transit No. and address information.
Important
The Transit No entered must match theTransit No. of an active Bank Account.
In the Transfer tab, set Use for Electronic Payments Boolean field to 'true'.
Close the screen.
Bank Accounts
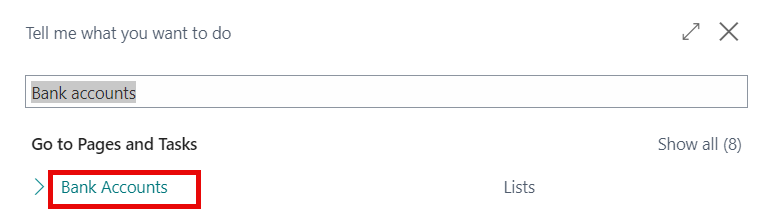
Search for Bank Accounts and select the related link.
Select a bank account.
In the Posting FastTab, complete the following fields:
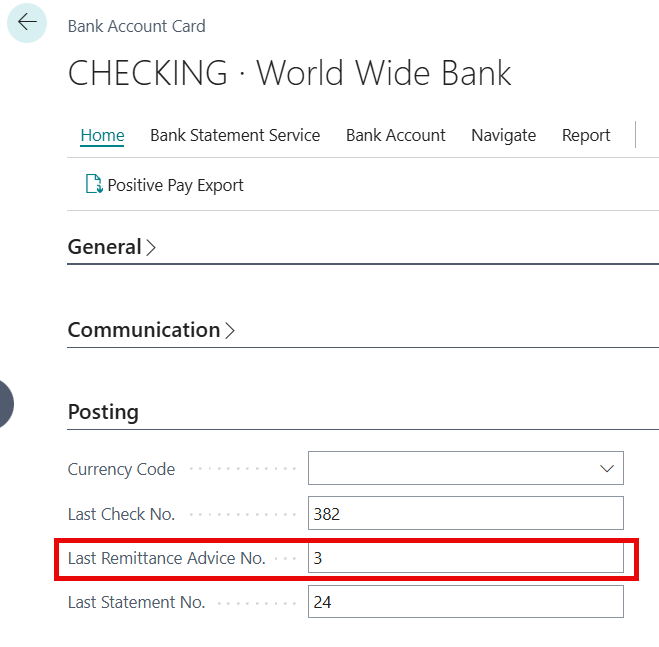
Field Name Description Last Remittance Advice No. Specify the number of the most recently printed Remittance Advice that did not print in check format. You can enter a maximum of 20 characters, such as RA00000. In the Transfer FastTab, complete the following fields:
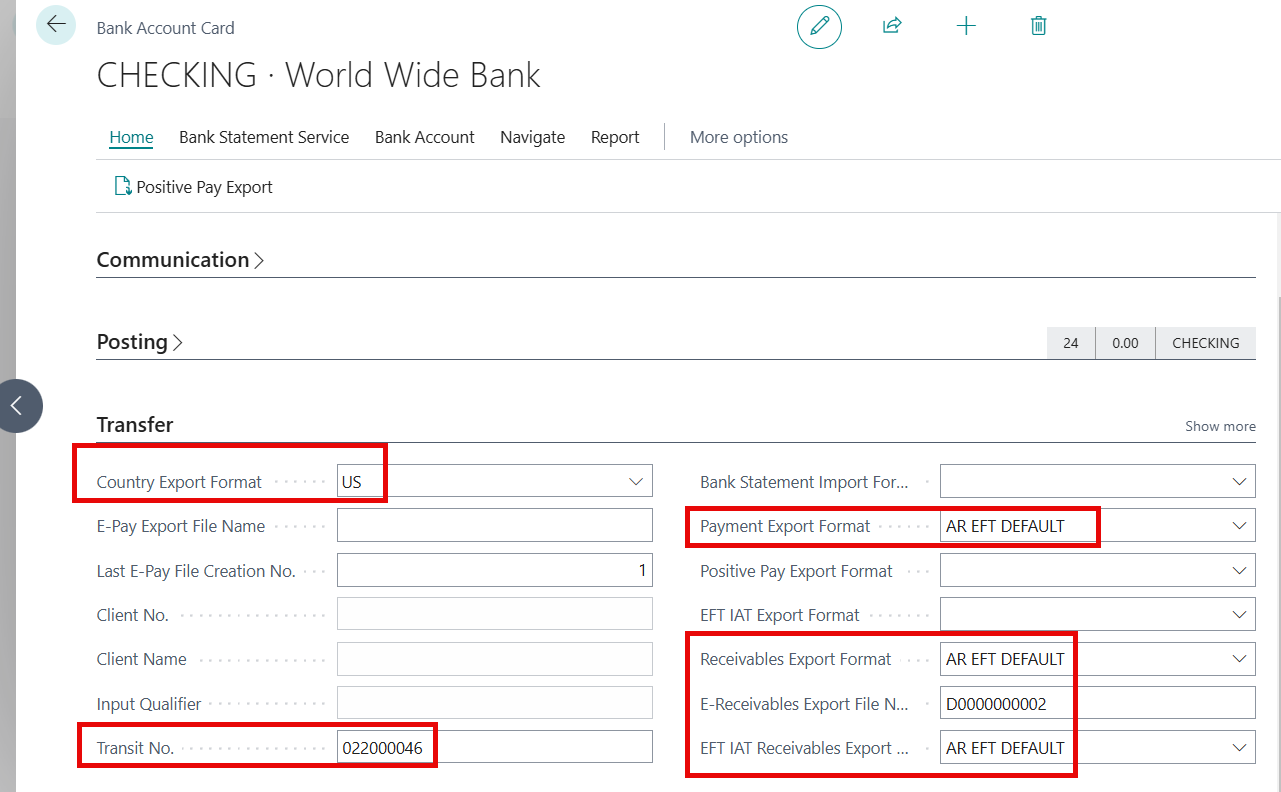
| Field Name | Description |
|---|---|
| Country Export Format |
Specifies the country-specific file format for the export file. Set the country/region format to US. (NOTE: only US is supposed at this time). |
| Transit No. | Specify a bank identification number of your choice. |
| Payment Export Format | Specifies the format of the bank file that will be exported when you choose the Export Payments to File button in the Payment Journal page. Select AR EFT DEFAULT. |
| Receivables Export Format | Specifies the format of the bank file that will be exported when you choose the Export Payments to File button in the Cash receipt Journal page. Select AR EFT DEFAULT. |
| E-Receivables Export File Name | Specifies a file name with no path. This file name should have digits in it, since the system will attempt to increment it every time it is used to name an exported Direct Deposit file. This way, you will maintain a permanent record of every file you have every exported to the bank. For example, DD000000.txt would be a common first entry for this field. |
| EFT IAT Export Format | Specifies the EFT IAT format of the bank file that will be exported when you choose the Export button in the Payment Journal page. Select AR EFT DEFAULT. |
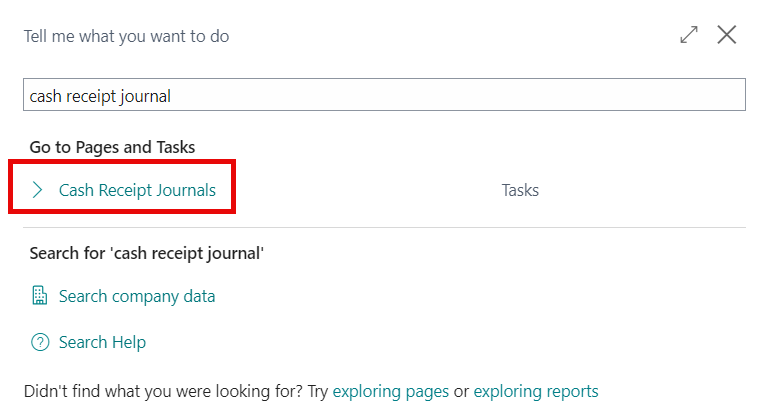
Cash Receipt Journal
Search for Cash Receipt Journal and select related link.
Batch Name - GENERAL
Select the ellipsis in the field to open General Journal Batches page.
Select Edit List.
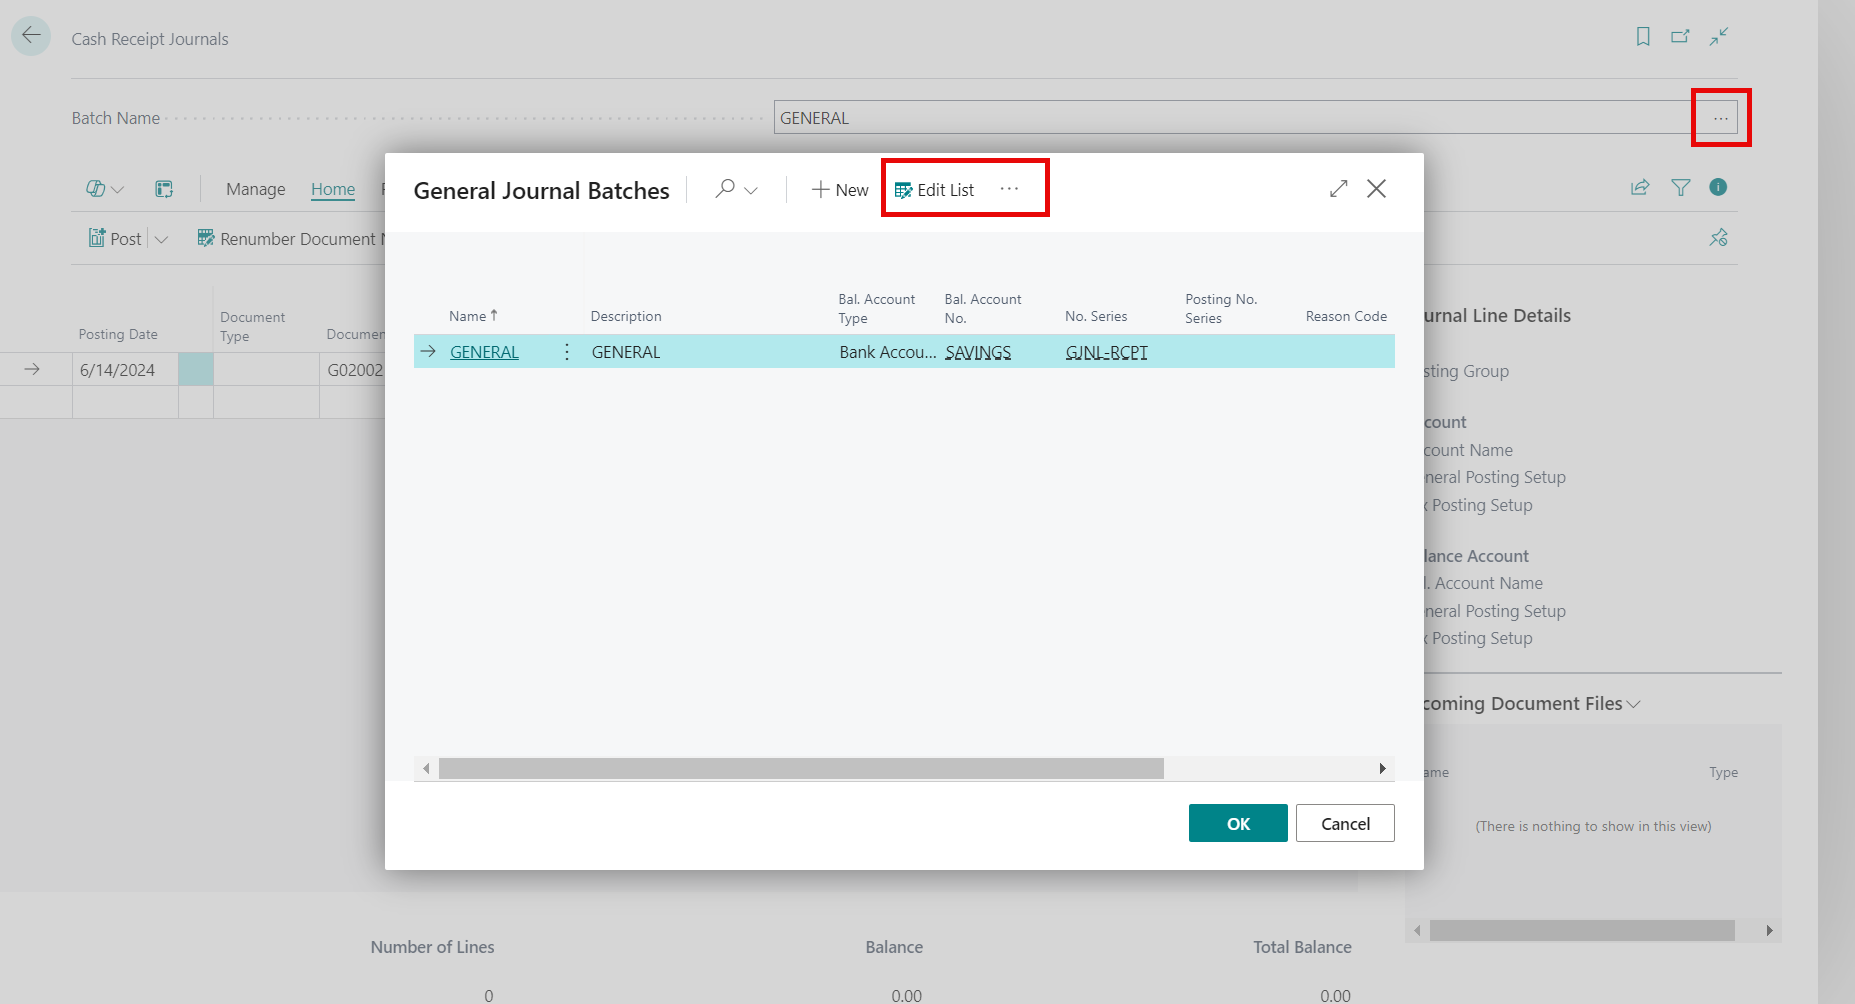
Select the checkbox for Allow Cash Receipt Report. This field specifies, if selected (true) to allow cash receipts to be exported to a file.

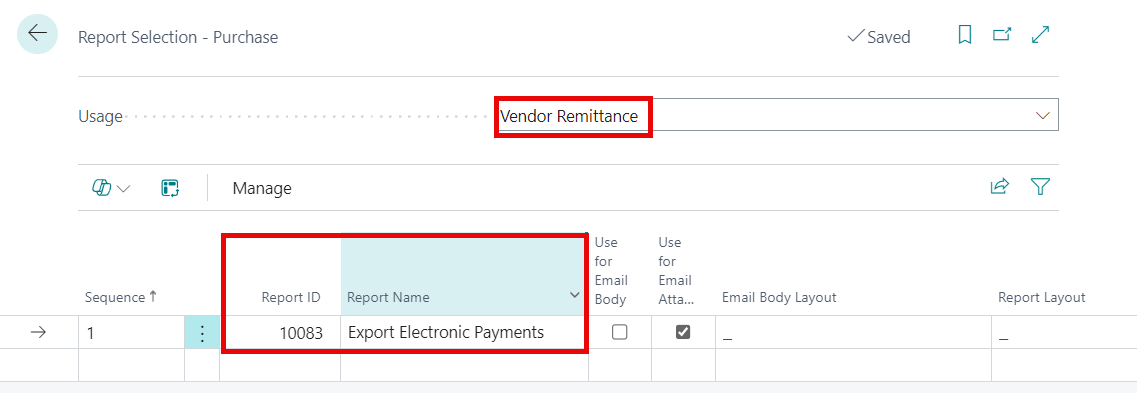
Vendor Remittance Advice report
For exports from the Cash Receipt Journal, set up the Vendor Remittance report to be 10083 - Export Electronic Payments.
Use Search to navigate to Report Selection - Purchase.
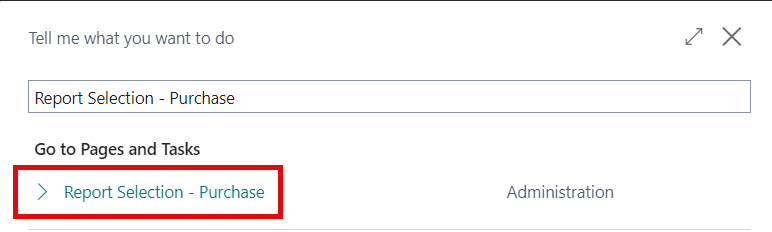
Ensure the Report ID for Usage = Vendor Remittance is set to 10083 - Export Electronic Payments.
See Also
-AR Electronic Funds Transfer Video: Learn about the AR Electronic Funds Transfer app features: AR Electronic Funds Transfer App Video
- Steps for processing AR Electronic Funds, see: Generate EFT File