Process to Generate EFT File
Create Payment
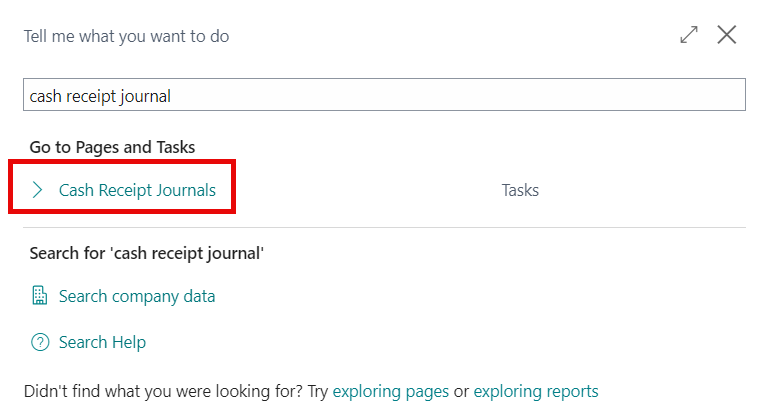
Search for Cash Receipt Journal and select the related link.
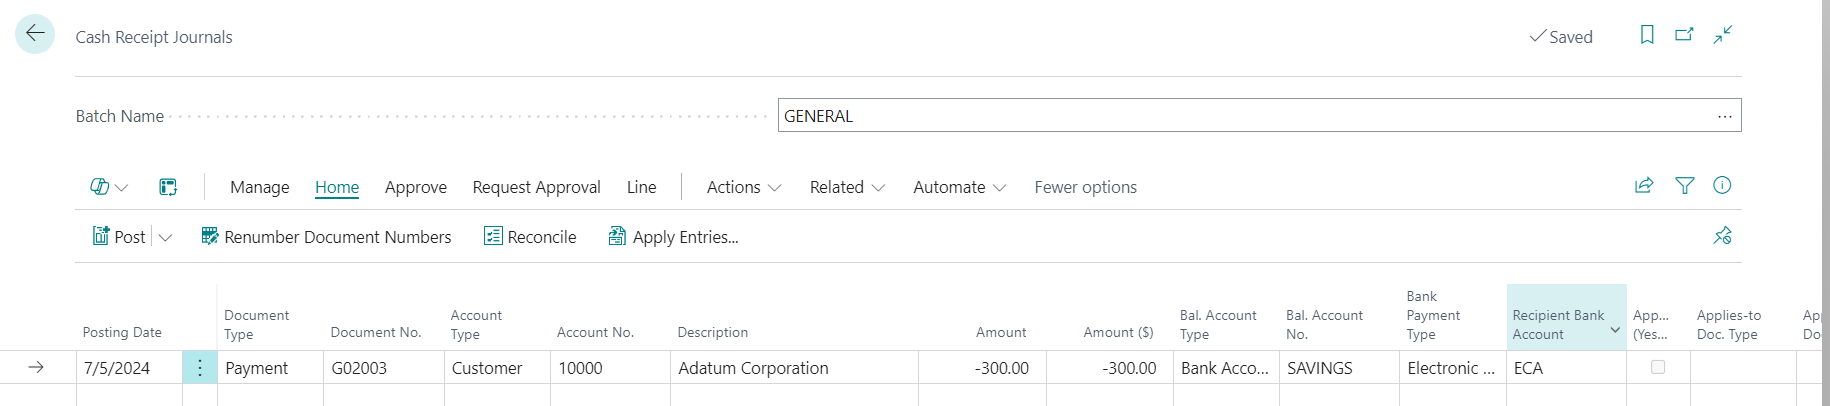
To enter a payment:
Select Document Type as 'Payment'.
- Select Account Type as 'Customer'
- Select Account No. as the Customer Number set up in the Customer Card for this payment.
- Amount: Enter the Amount of the payment as a negative value.
- Bank Payment Type: Select 'Electronic Payment'.
- Recipient Bank Account: Select the code for the Recipient Bank Account.
Important
If the user attempts to post the Cash Receipt without exporting the EFT file, they will receive an error message: "Check Exported must be equal to 'Yes' in Gen. Journal Line: Journal Template Name = CASHRCPT, Journal Batch Name = GENERAL, Line No. XXXXXX'. Current value is 'No'.

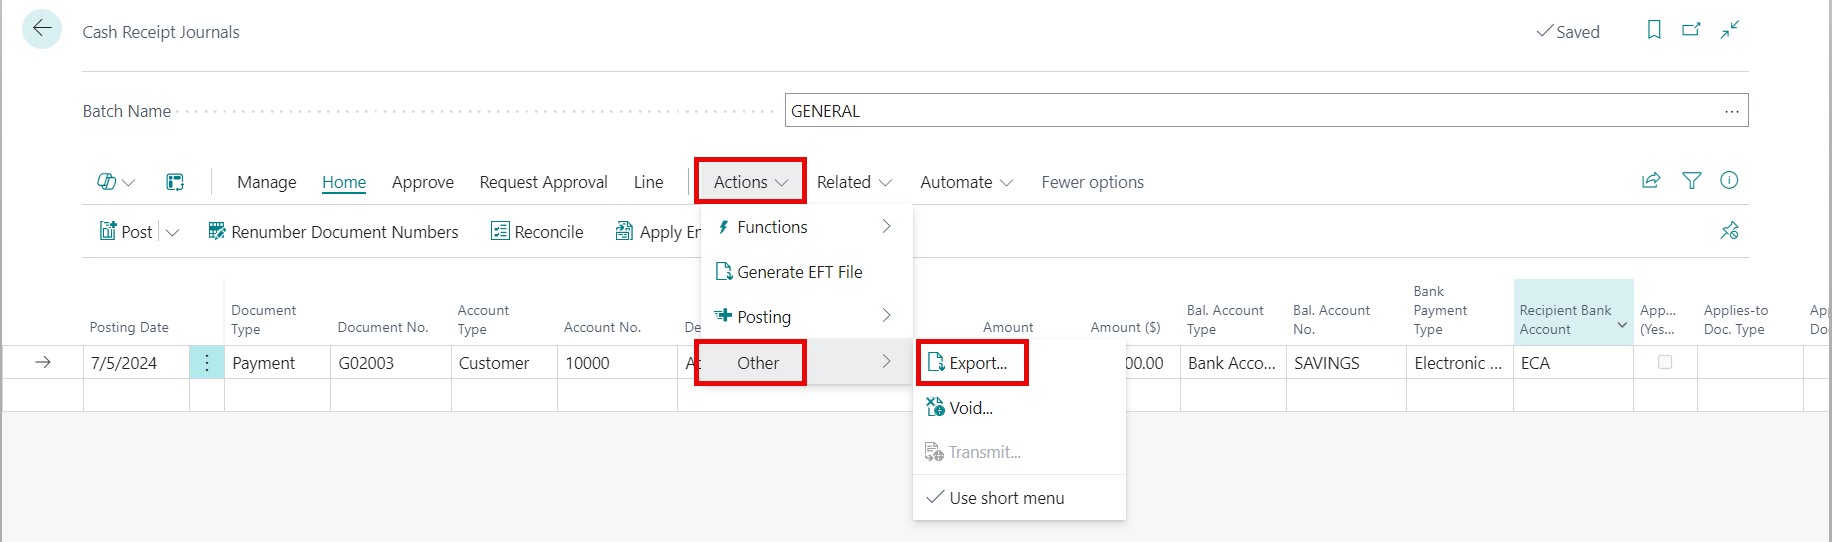
Export Payment Remittance Advice
From the ribbon, select Actions > Other > Export
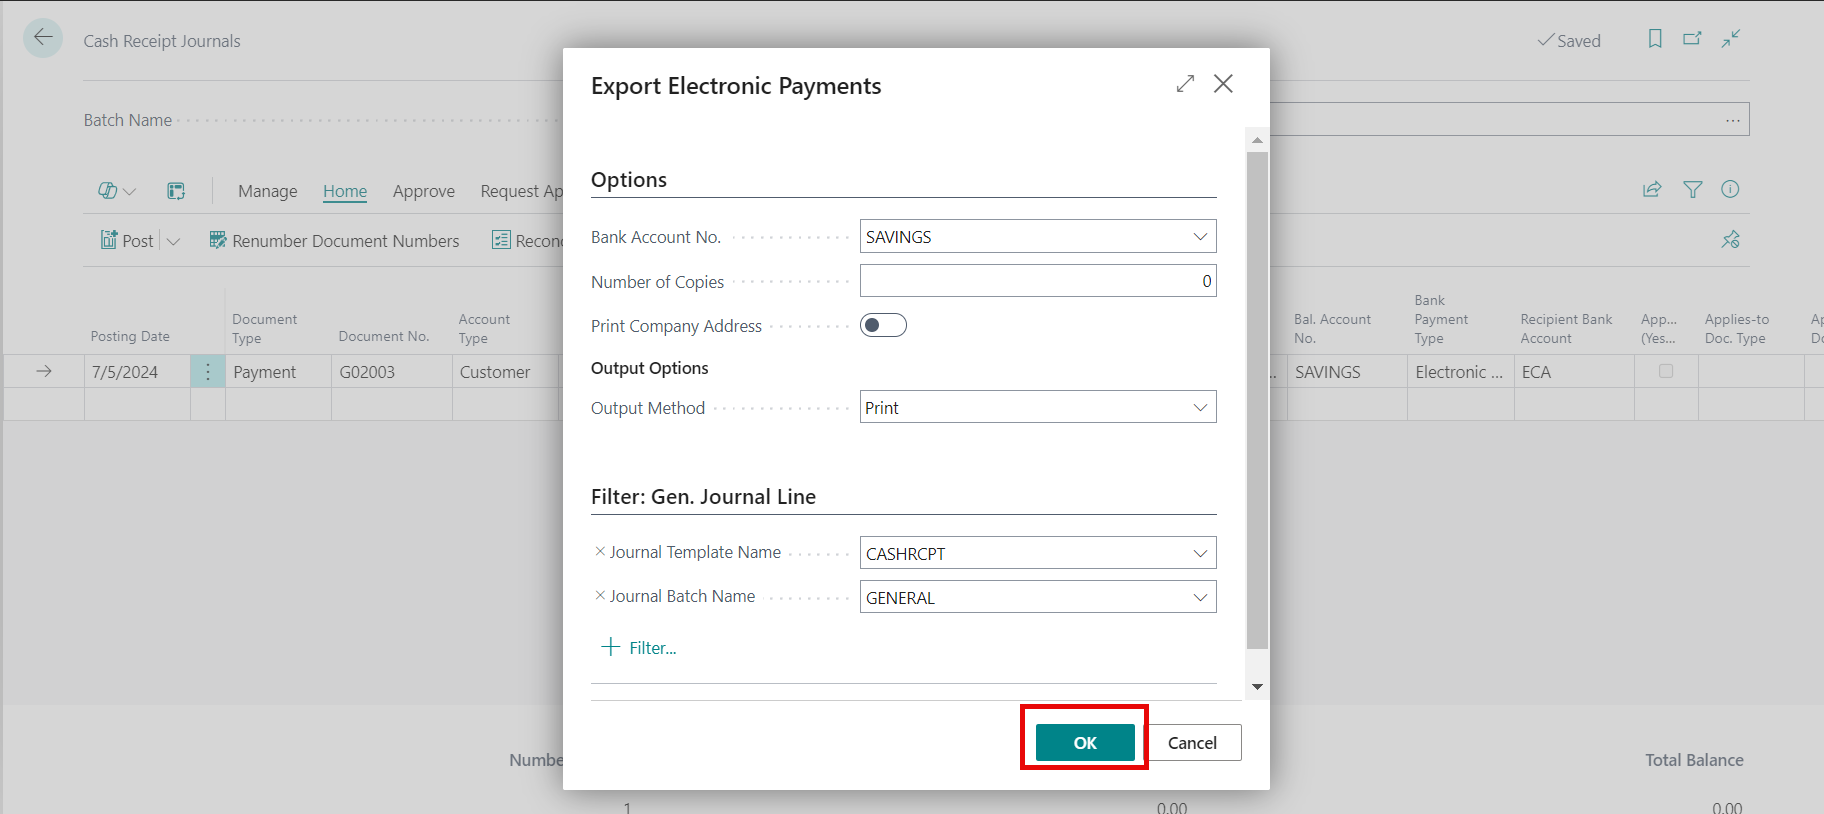
Select Bank Account (select the same Account used in the transaction).
Journal Template Name: enter 'CASHRCPT' (or the name of your cash receipt journal)
Journal Batch Name: enter 'GENERAL'(or the name of your journal batch)
- Click OK to Export the Electronic Payment Remittance Advice.
Important
If the user attempts to post the Cash Receipt without generating an EFT file, they will receive an error message: "EFT File not generated for the line "XXXX', 'YYYY' with Line No. ZZZZZZ'.

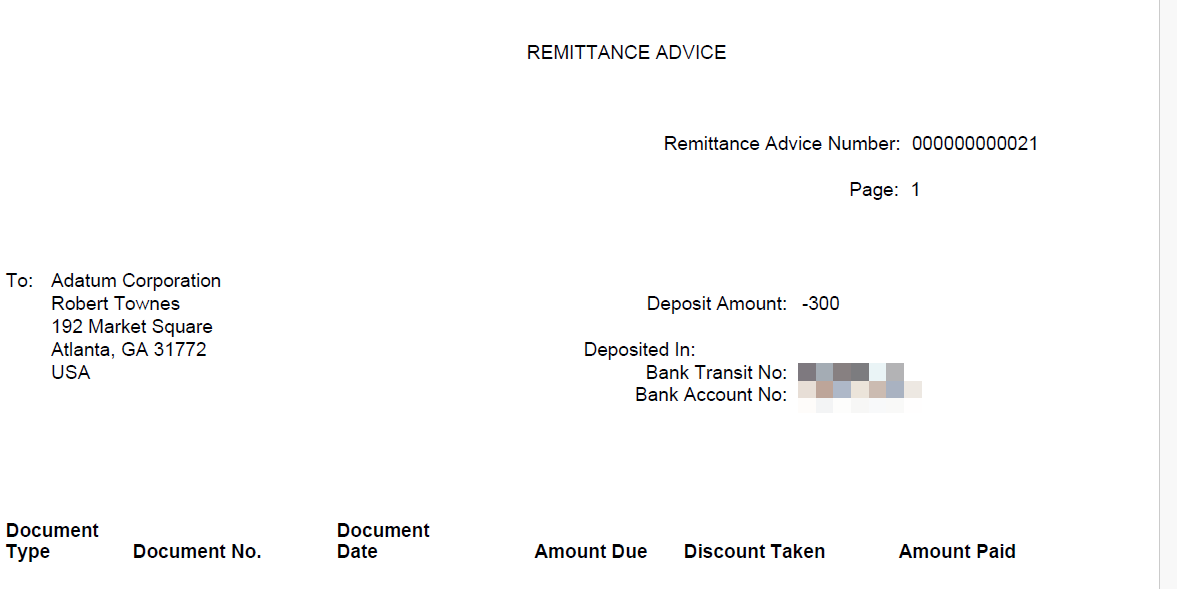
Depending on the browser used, a file may download automatically or a popup will display to save the file. Select on Save File and click OK. A Remittance Advice document is exported as a Word document to your computer or network drive.
Generate the EFT File
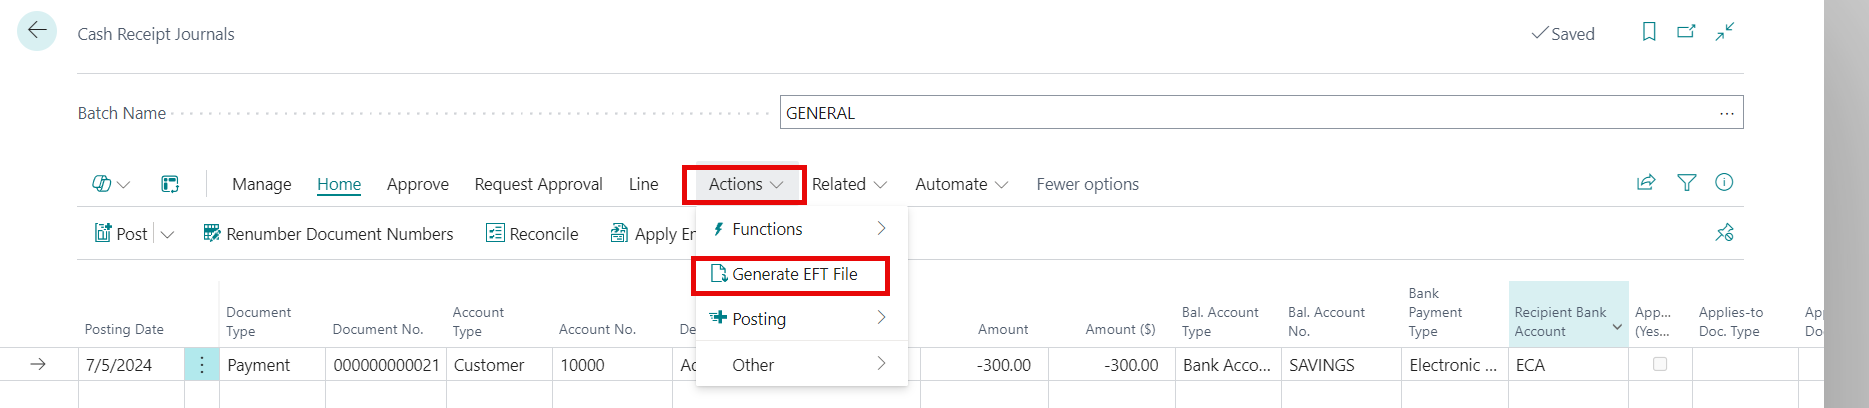
- Once the Remittance Advice is generated, from the ribbon in the Cash Receipts Journal, select Actions > Generate EFT File.
| Field Name | Description |
|---|---|
| Bank Account |
Specifies the number of the bank account. |
| Description | Specifies the name of the bank. |
| Settlement Date | Specifies the settlement date for the electronic funds transfer. Defaults to the current System Date. This is the date that the funds need to be withdrawn from the specified bank account. |
Lines
| Field Name | Description |
|---|---|
| Include |
Specifies to either include or exclude this line. |
| Document Date | Specifies the date on the document that provides the basis for the entry on the journal line. |
| Document No. | Specifies a document number for the journal line. |
| Account No. | Specifies the account number to which the journal line entry will be posted. |
| Amount | Specifies the total amount of the journal line. |
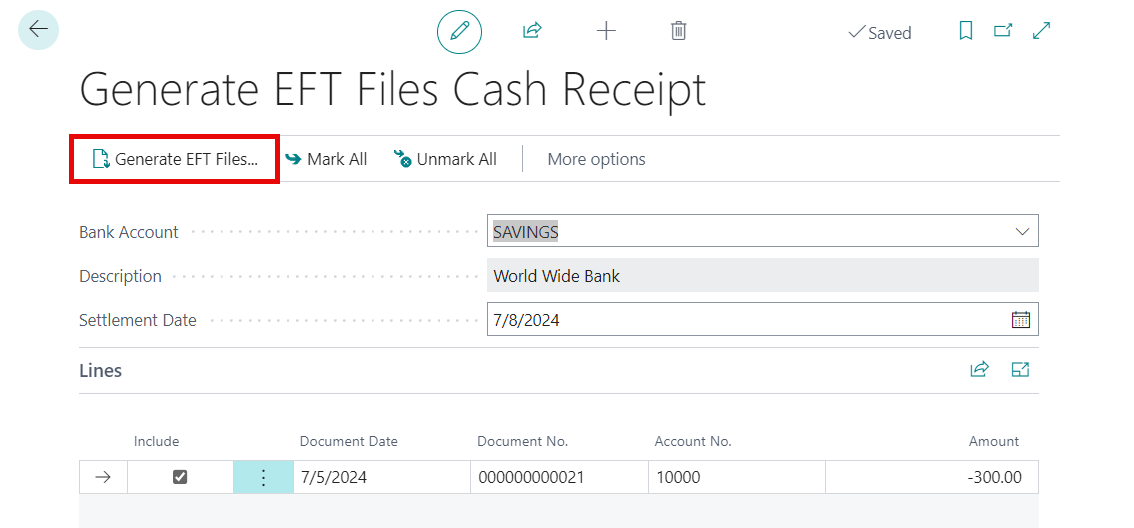
In the Generate EFT Cash Receipt page, verify the Bank Account Account No., Settlement Date and Amount values are correct for the transactions entered.
In the ribbon, select Generate EFT Files. This step will export payments on journal lines that are set to Electronic Payment to a file prior to transmitting the file to your bank.
Tip
Payments that are to be included in the export file have the checkbox for Included selected in the Lines section. To exclude a line, deselect the Included checkbox for that line. It will also not include any lines where the EFT has already been generated.

- Once the EFT process is complete, the Cash Receipts batch can be posted as per usual process.
Void EFT File
If a selected line in the Cash Receipts Journal has had the EFT generated, but the Posting process has not been run, the line can be voided. To void a Cash Receipt entry that has not been posted:
Navigate to the Cash Receipt Journal.
Select the Batch Name where the entry exists.
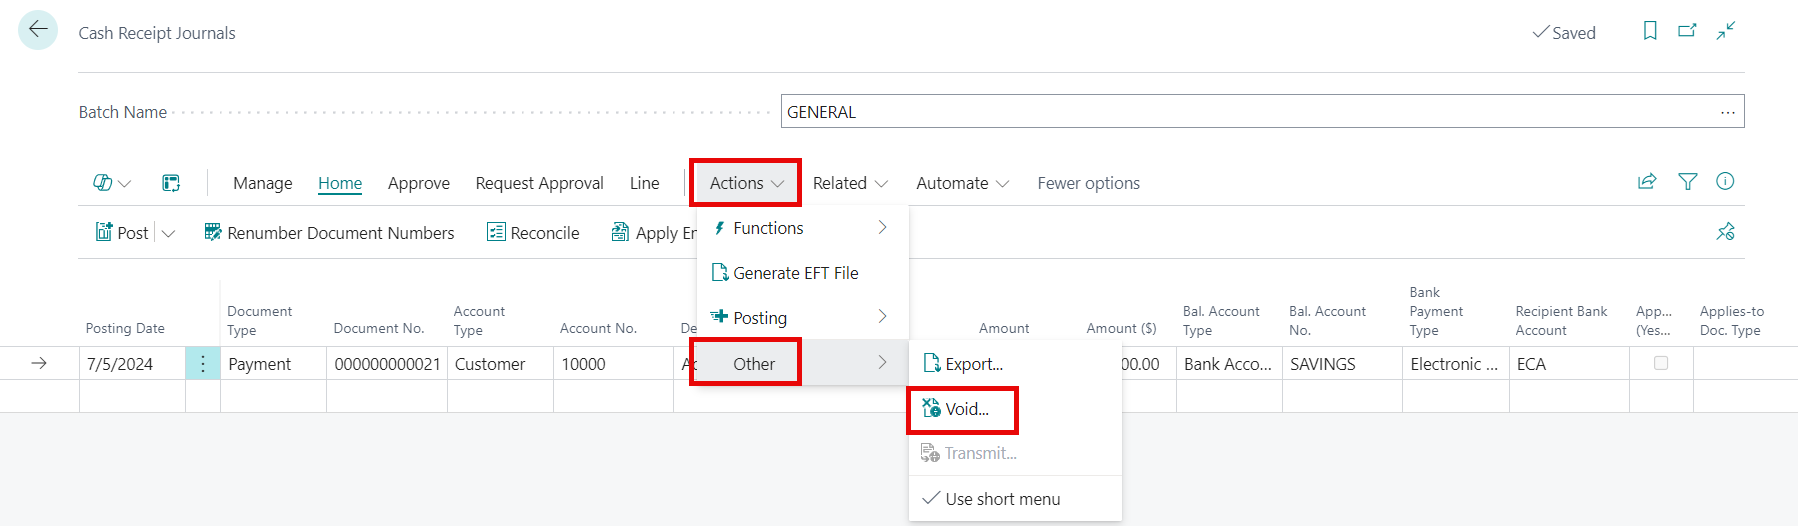
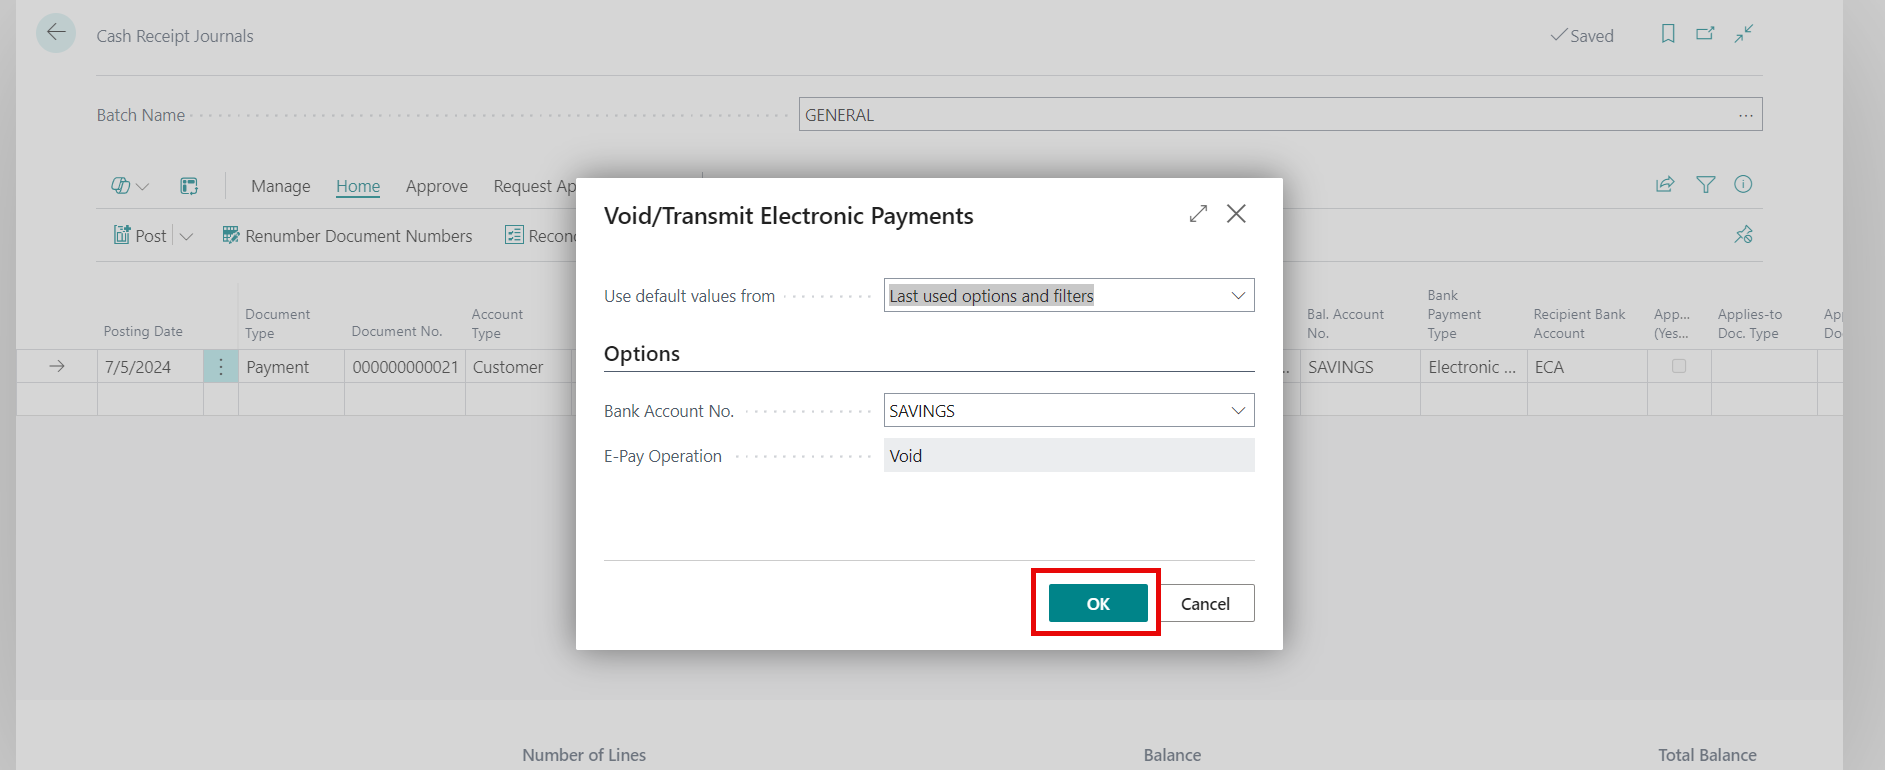
In the menu, select Actions > Other > Void.
Click OK in the Void/Transmit Electronic Payments page.
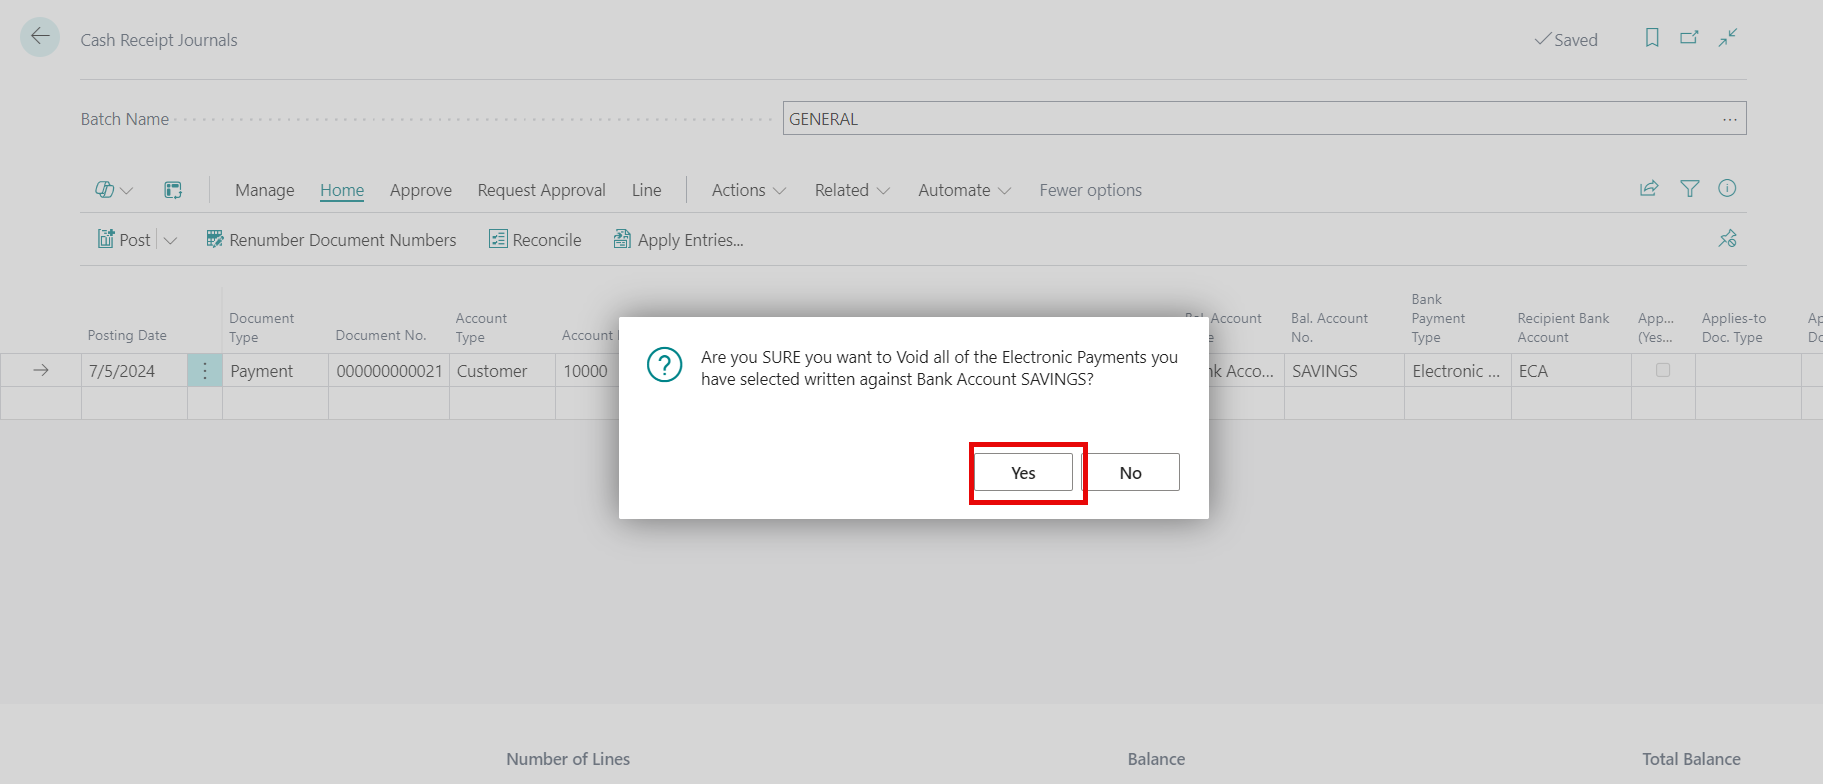
Click Yes to the message "Are you SURE you want to void all of the Electronic Payments you have selected written against Bank Account 'XXXX".
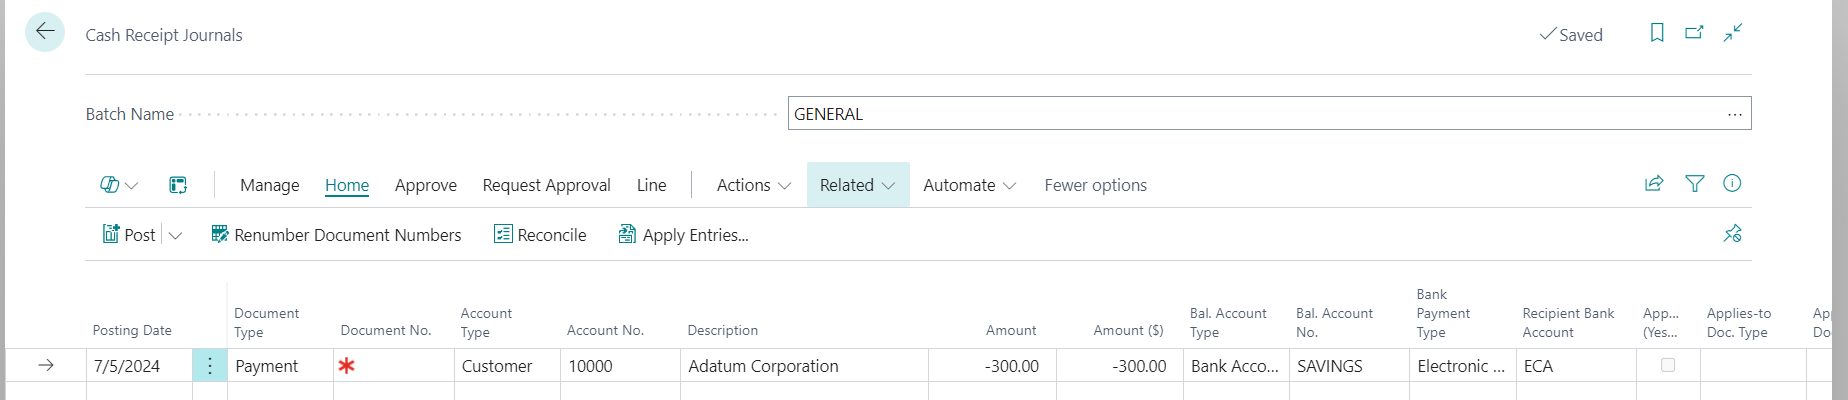
The Electronic Payment is voided and the Cash Receipt Journal reopens. The Electronic Payment can be reentered, as needed.
AR Electronic Funds Transfer Video
Learn about the AR Electronic Funds Transfer app features: AR Electronic Funds Transfer App Video